

I first purchased this great collection of AMY BUTLER scrapbook card stock paper. It's amazing, everything blends and works together. The paper is almost too beautiful to use. It was instant love at first sight and I knew I had to have it. This pack of amazing double sided happiness only cost me $10.50 at Walmart.


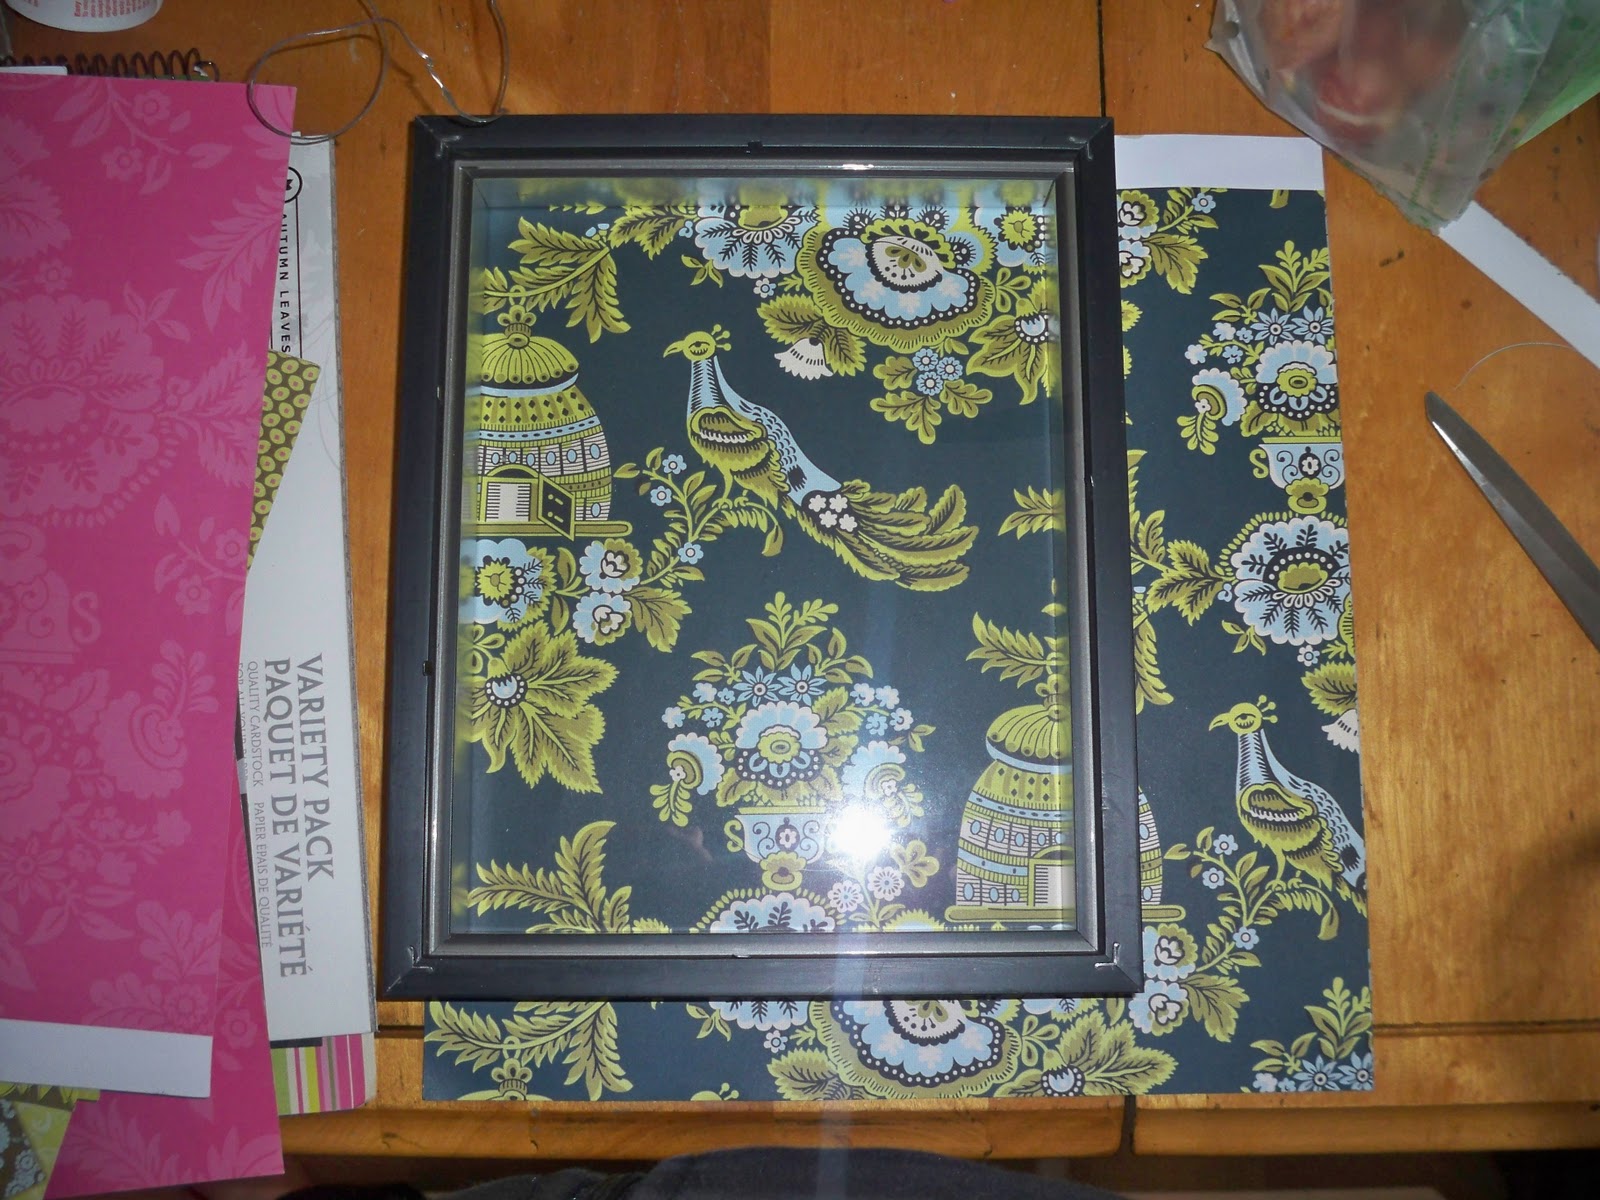

Next I went through and picked (with the help from Craig) which sheets of paper we loved the most and worked well with each other. Then I placed the frame with the glass over the paper to get the right placement of each sheet I wanted to display. I even tried it with the Matte in the frame. If you want you can always do that too, for mine I chose to go without the matte. Then I took the paper that came in the frame and used it as a template to cut my paper down to size. NOTE: you don't have to use card stock you can use any kind of paper or fabric even

Then to assemble it I chose to put the matte behind my paper then the backing. That way if I choose to change my artwork in the future I have the proper piece of matte for my frame.
After I completed all 12 it was time to clean them. I wiped all my frames down with a little bit of Windex and paper towel to remove any dust or fingerprints that might have collected from assembling. Then I laid them all on the floor and rearranged them all until I had the right placement worked out.
My next step was to measure dead center of my wall and choose exactly how high I wanted my first piece to be hung, then I measured and used my level to make sure they all were 1" apart. There you have it a simple and super easy and very versatile piece of artwork that anyone can do and personalize for themselves.

No comments:
Post a Comment